Why We’re Doing This (And Why Now)
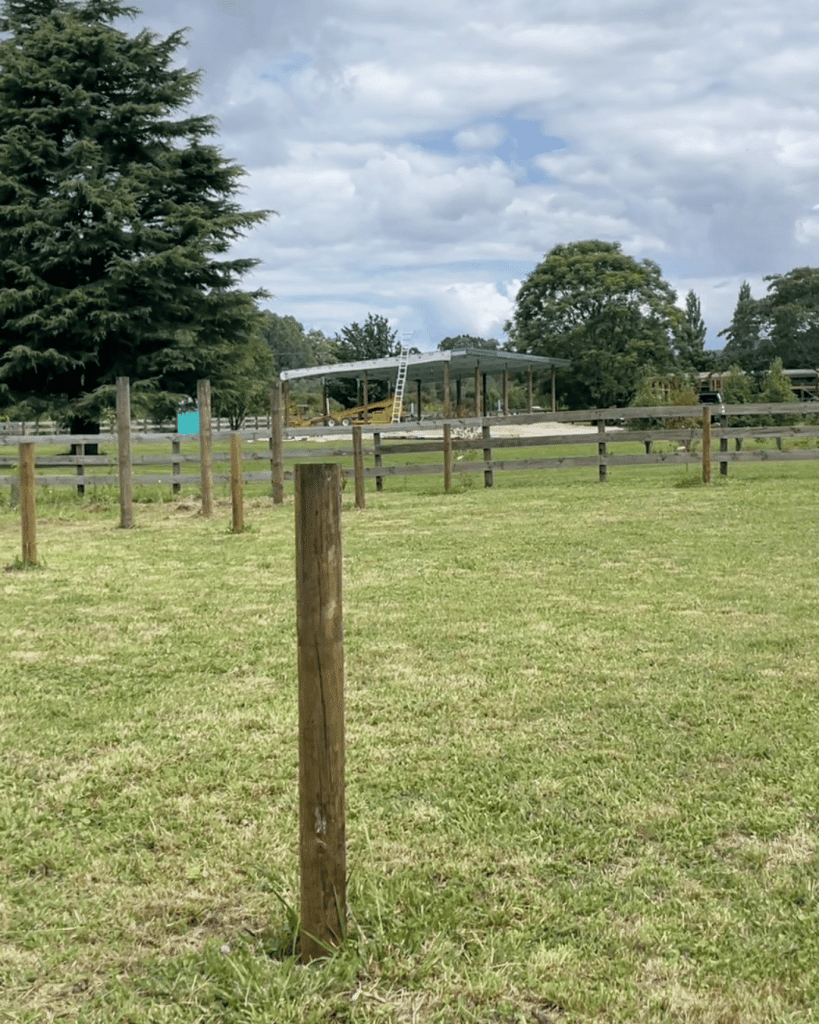
We’ve recently moved onto a new property – a blank canvas that was previously used for cattle grazing. We haven’t planned out the whole property yet but we have out put aside a significant area for a fenced garden. Looking out at that 1000 square meters of garden space, I’ll be honest: it’s both exciting and a bit overwhelming. But here’s the thing – we’re not trying to transform it all overnight. This season, we’re starting with a manageable 10×15 meter section (150 square meters), and I’m taking you along for the ride.
This isn’t just about growing vegetables for our family, though that’s certainly part of it. The bigger vision is to prove that highly productive, regenerative food growing is achievable for people like us – homesteaders, lifestyle block owners, anyone with some land and a commitment to doing things differently. Eventually, I hope this space produces enough not just for us, but for our wider community too.
And for the first time, I actually have the space and time to document this journey properly – to share what works, what doesn’t, and everything I learn along the way.
What Is Regenerative, No-Till Gardening Anyway?
If you’re new to this approach, here’s the simple version: instead of fighting against nature with chemicals and machinery, we’re working with natural systems to build soil health.
The core idea is that healthy soil = healthy plants = nutrient-dense food. And healthy soil isn’t just dirt – it’s a living ecosystem of bacteria, fungi, earthworms, and countless other organisms all working together. When we till the soil or dump synthetic fertilisers and herbicides on it, we destroy that ecosystem. Then we’re stuck in a cycle of needing more and more inputs just to grow anything decent.
No-till, regenerative gardening flips that script. We:
– Protect and build soil structure instead of destroying it
– Feed the soil biology, not just the plants
– Use living and dead plants (cover crops, mulches) to add organic matter
– Let nature do the heavy lifting
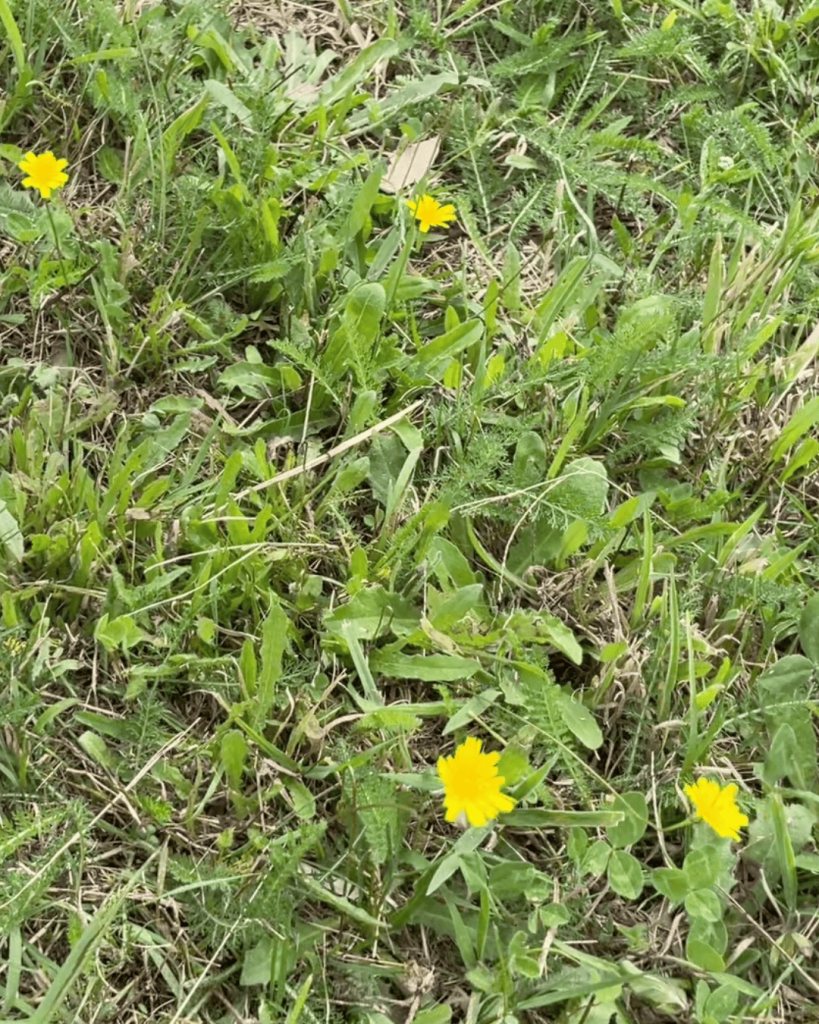
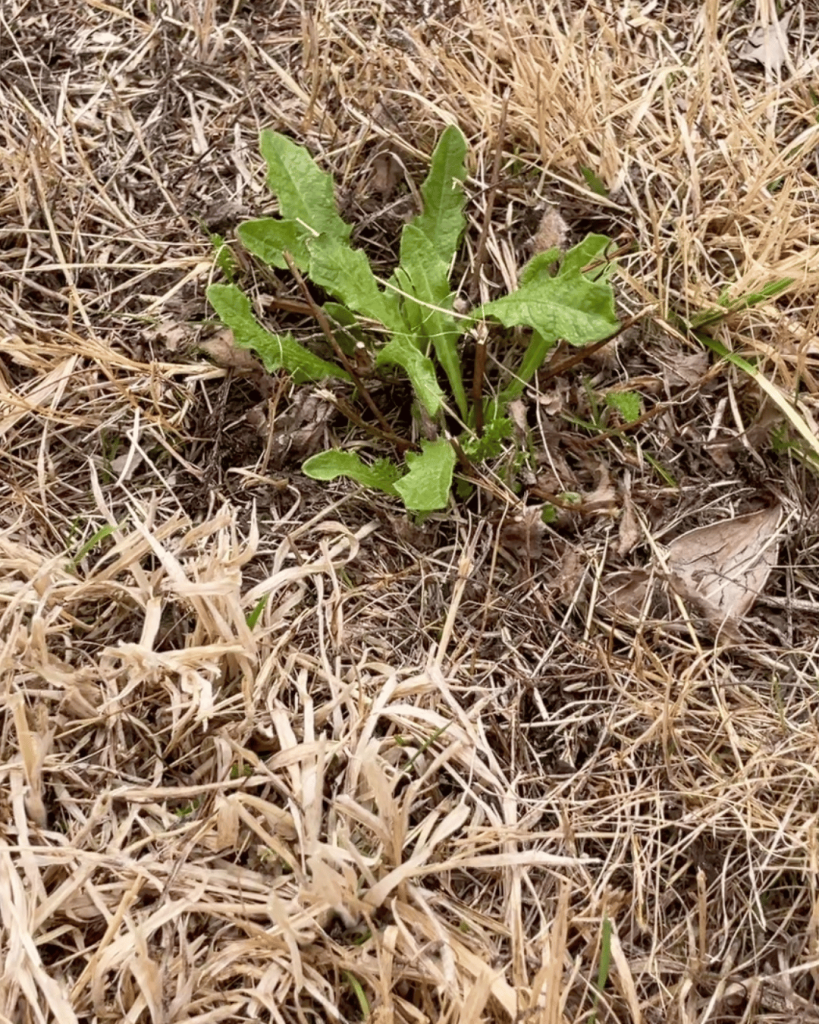
For our situation here – sandy soil that’s likely nutrient-poor based on what’s growing (lots of yarrow, which typically indicates low fertility) – this approach isn’t just philosophical. It’s practical. We need to build soil health, and tilling would only set us back. Our sandy soil needs organic matter, and the most cost-effective and labor-efficient way to add that is through cover crops and natural processes.
I’m also just fundamentally against using synthetic products unless absolutely necessary. Nature’s been doing this for millions of years. She knows what she’s doing – we just need to stop getting in the way.
The Road Ahead: What This Series Will Cover
Here’s what this year will look like for this 150 square meter plot:
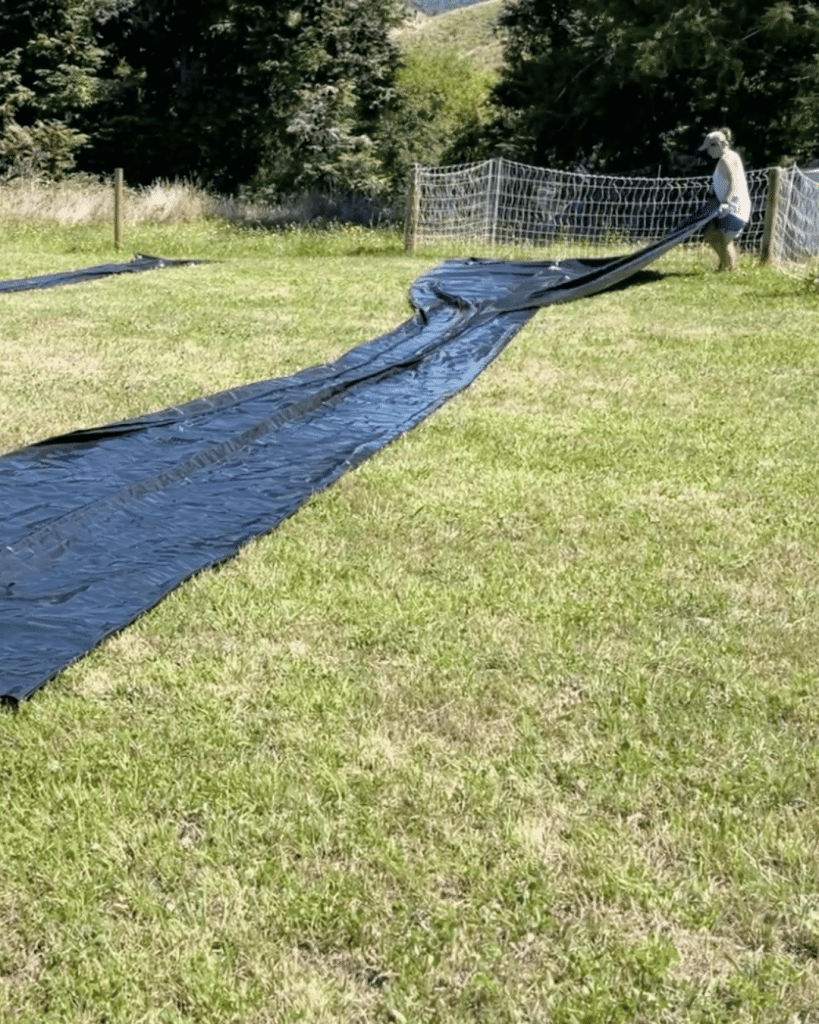
Stage 1: Occultation Tarping (February-March) ← We’re starting here today
This is where we smother the existing grass and weeds with a tarp, killing them off without chemicals.
Stage 2: Broadforking & Chicken Integration (Mid-Late March)
Once the tarp comes off, we’ll use a broadfork to gently aerate the soil without turning it over, and let our chickens do some tillage work for us (they’re excellent at breaking up remaining plant matter and adding fertilizer).
Stage 3: Cover Cropping (Autumn)
We’ll plant a mix of cover crops to add organic matter, fix nitrogen, break up any remaining compaction with deep roots, and protect the soil over winter.
Stage 4: Cover Crop Termination (Winter/Early Spring)
The cover crops will be terminated (killed) and left as a mulch layer on the surface.
Stage 5: First Plantings (Spring)
Finally, we plant into that beautiful, living soil we’ve created.
This is a months-long process, not a weekend project. But that’s the point – we’re building a foundation that will serve us for years to come. Getting it right matters more than getting it done quickly.

Deep Dive: The Tarp Method – Killing Grass Without Killing Soil
Why Skip the Weed Killer?
I’ll be straight with you – when you’re staring at a field of grass and weeds, the temptation to just spray it all with glyphosate (Roundup) is real. It’s fast, it’s easy, and it definitely works.
But here’s what else it does: it kills soil biology. All those bacteria, fungi, beneficial nematodes, and earthworms that we need for healthy soil? They’re casualties too. Studies have shown that glyphosate and other herbicides can significantly disrupt soil microbial communities, and that disruption can last for months or even years.
And even beyond the environmental and health concerns around these chemicals, there’s a practical issue: we’re trying to build an organic garden here. Starting with a chemical weed killer just doesn’t align with that goal.
The tarp method offers a different path: patience over poison. Yes, it takes longer. But it preserves the living soil ecosystem we’re trying to nurture.
How Tarping Actually Works
The science behind tarping (also called occultation or solarization depending on the tarp color and method) is beautifully simple: plants need light to photosynthesize, and when you cut off their light supply completely, they die.
Here’s what happens under that tarp:
Light Deprivation
Without light, plants can’t produce energy. They start using up their stored reserves.
Heat Build-Up
Dark tarps (like the black silage tarp I’m using) absorb heat from the sun. In our zone 10a summer, that space under the tarp can get quite hot, which speeds up the process.
Moisture Retention
The tarp traps moisture in the soil, which actually helps break down the dying plant matter.
Plant Death
Eventually, the plants exhaust their energy reserves and die. Their roots and above-ground growth start breaking down.
The beauty of this is what it doesn’t do: it doesn’t bring dormant weed seeds to the surface (like tilling would), and it doesn’t harm soil life. Earthworms and most beneficial organisms can survive just fine under a tarp. They might move a bit deeper, but they stick around. The soil structure stays intact.
The Seed Bank Reality Check
Let’s talk about something important: the soil seed bank.
Right now, in the top few inches of our soil, there are potentially thousands of weed seeds just waiting for the right conditions to germinate. Some of those seeds can remain viable for years, even decades.
Here’s the good news: tarping doesn’t disturb that seed bank. Unlike tilling, which brings buried seeds up to the surface where they’ll happily germinate, tarping leaves them buried and dormant.
Here’s the reality check: some seeds will still be there when we’re done. And over time, some will germinate.
This isn’t a one-and-done solution to weeds. It’s the first step in a longer-term strategy. The cover crops that come next will help suppress weeds by outcompeting them. The mulch layers we build will prevent light from reaching the soil surface. But there will always be some level of weed management needed – that’s just part of gardening.
The goal isn’t perfection. It’s establishing a system where the desired plants (our vegetables and cover crops) have such a strong advantage that managing the occasional weed is manageable work, not a constant battle.
If we find that dormant seeds are a challenge, one option will be to use the stale seed bed method but that’s a bridge we will cross if we need to.
Timeline & What to Expect
For our situation – early February tarping in zone 10a – I’m planning on 6 to 8 weeks under the tarp.
Here’s why:
Summer heat works in our favour
In warm conditions (and February is late summer here), the process moves faster. The heat speeds up plant die-off and decomposition. If I were doing this in winter, I’d need to leave the tarp down for 10-12 weeks or more. This is possibly something we will encounter for our second garden bed later in the year.
Different plants die at different rates
Annual grasses and many common weeds will be completely dead in 4-6 weeks during hot weather. Perennials with deeper root systems (like the dandelions and yarrow we’ve got) might take longer, and some might survive in a weakened state.
I have a deadline
I want to get cover crops in by late March, which means the tarp needs to come off, we need to broadfork, and the chickens need their turn. Working backwards from that goal, early February is my start date.
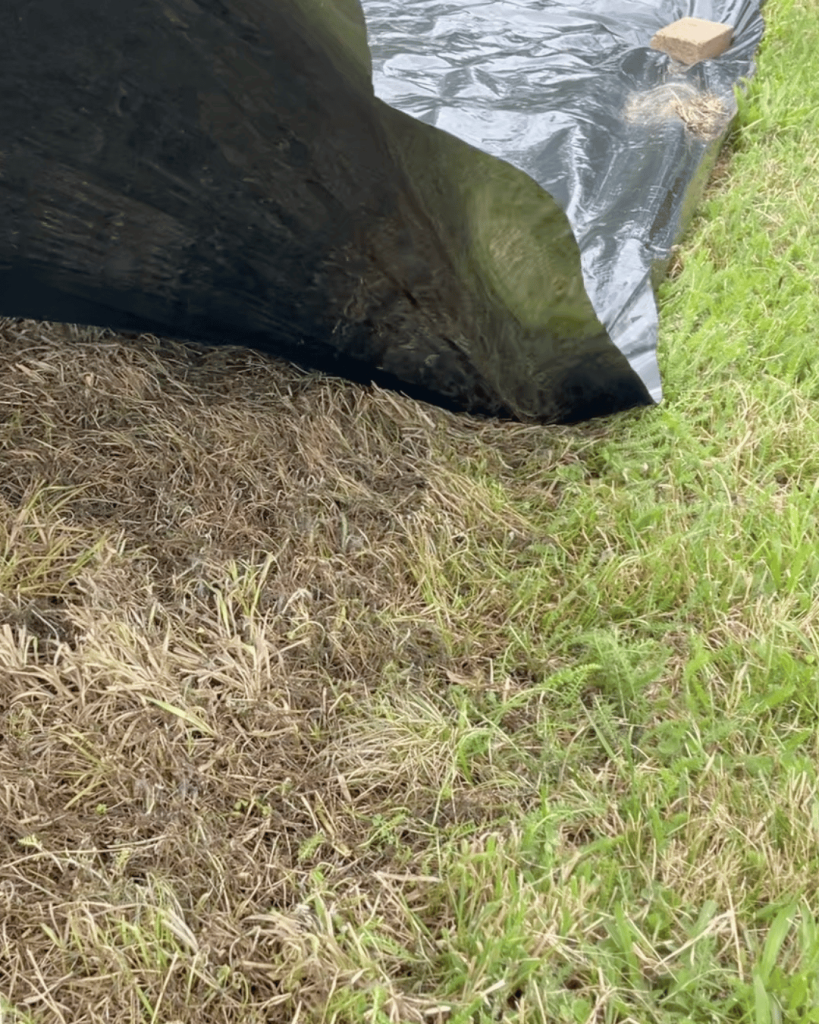
I’ll be checking under the tarp periodically – probably at the 4-week mark and again at 6 weeks – to see how things are progressing. The grass should be yellow or brown, and when I pull on it, it should come up easily with minimal root resistance.
Clear vs. Black Tarps – A Quick Note
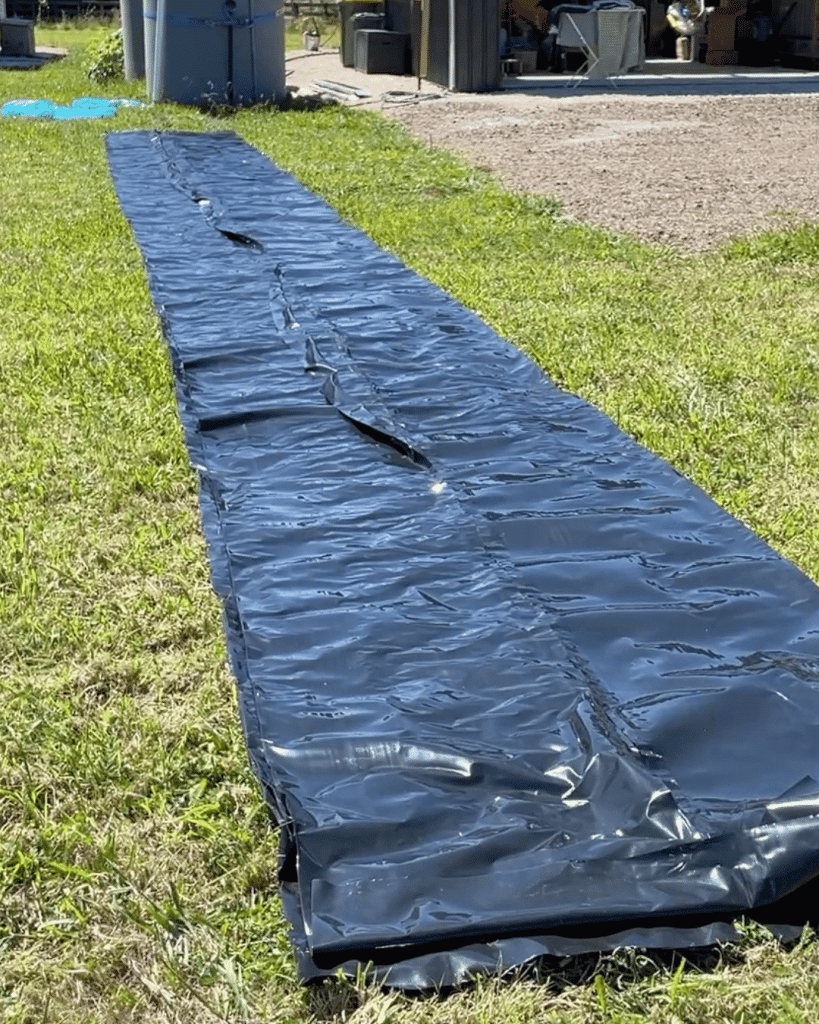
I’m using a black silage tarp, which is pretty much the gold standard for this work. They’re heavy-duty (way more durable than the thin polythene sheeting I’ve used in the past), UV-resistant, and reusable season after season. I bought a 50m x 5m tarp from a farm supplies company and I’m cutting it into two 15m x 5m pieces for this initial plot, with leftover material for future use.
Some people use clear plastic for what’s called “solarization” – it works faster in hot weather because it creates a greenhouse effect and literally cooks the plants and weed seeds. But it only works well in very hot, sunny conditions, and it can also kill beneficial soil biology if it gets too hot. For our purposes, the black tarp is the better choice.
What Won’t Die (Or Will Take Forever)
Let’s be realistic about what we’re up against.
Perennial weeds with deep taproots – like our dandelions and yarrow – might survive 6-8 weeks of tarping, especially if they’re well-established. They might be weakened significantly, but not necessarily dead.
Persistent grasses – we’ve got some non-pasture grasses on the site that look pretty tough. Things like couch grass or other spreading grasses with rhizomes can be incredibly persistent. The tarp will knock them back significantly, but might not eliminate them entirely in 6-8 weeks.
Buttercup – we’ve got some of this scattered around too, and it’s known for being stubborn. It spreads through creeping roots and can regrow from small fragments. The tarp will help, but I’m not expecting 100% elimination.
Established woody plants – we don’t have this issue in our plot, but if you’re dealing with small shrubs or tree saplings, tarping alone won’t be enough. Those need to be removed first.
Here’s my philosophy on this: I’m aiming for 90% reduction in grass and common weeds. The remaining 10% – whether it’s some persistent perennials or regrowth from deep roots – will be manageable in the context of an established cover crop and eventually a productive garden. Perfect isn’t the goal; functional is. I’m also prepared to deal with some of these manually after the tarp comes off, especially once the chickens have had a go at scratching around
And honestly, from my past experience with polythene tarping, the biggest lesson was this: **you need to have something to follow up with, or everything just grows back**. That’s why the cover crop stage is so crucial. We’re not just killing what’s there – we’re replacing it with something better.
Practical Tips for Success
Choosing Your Tarp
As I mentioned, I went with a black silage tarp. If you’re doing this, here’s what to look for:
– Heavy-duty material that won’t tear easily
– UV-resistant (so it doesn’t degrade in the sun)
– Large enough to cover your area with some overlap
– Black colour for heat absorption (in most climates)
Farm supply stores are your friend here. These tarps are designed for agricultural use and will last for years.
Size and Coverage
The area I’m covering is 10m x 15m, and I’m using two 5m x 15m tarp pieces to cover it. There will be a seam down the middle where they overlap, which is fine – I’ll weight that down well.
The actual garden bed will be more like 9m x 13m in usable space but it is useful to cover some extra area to prevent weed encroachment from the surrounds.
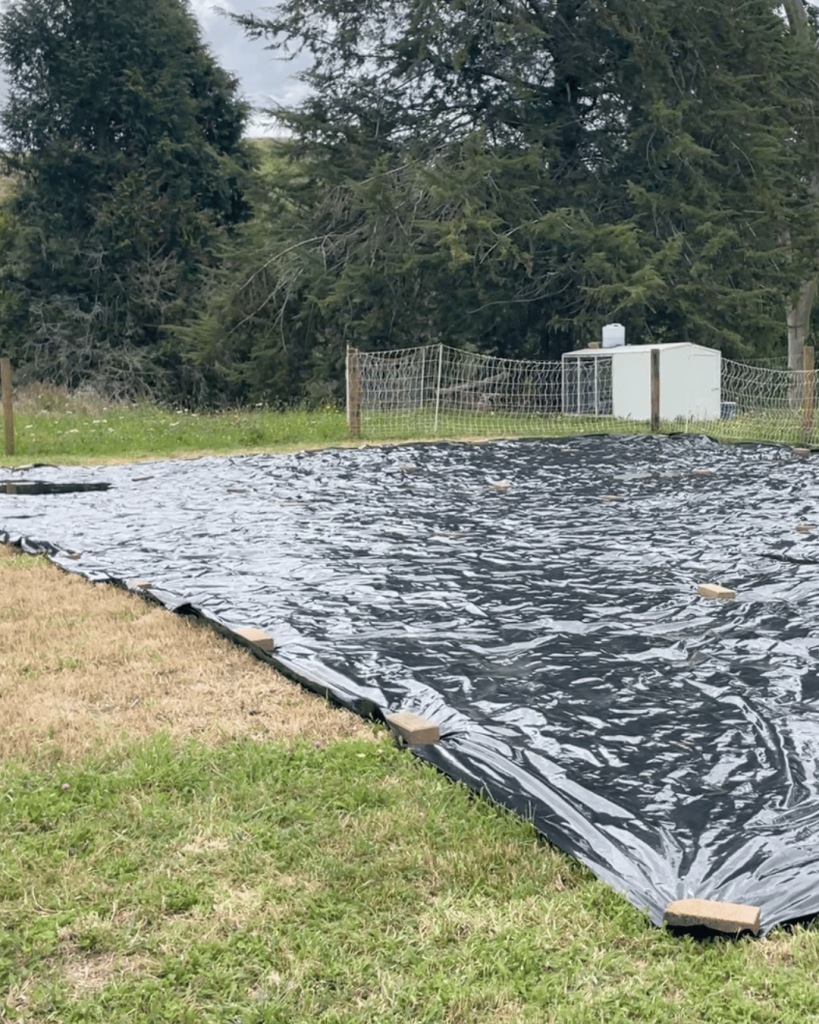
Securing the Edges – This Matters More Than You Think
This is critical: if wind gets under your tarp, the whole thing can fail. The tarp can rip, it can blow away, or light can get in and allow plants to keep growing at the edges.
While I’ll be using bricks and waratahs, you can also use:
– Sandbags or soil-filled bags along all edges
– Wooden planks or railway sleepers on the longer edges for extra weight
Don’t skimp on this step. Secure it well, then check it after any big wind events.
When to Start (For Your Climate)
For me in zone 10a, starting in early February (late summer) is ideal because:
– It’s hot, which speeds the process
– I can finish in time for autumn cover crops
– The timing works for eventual spring planting
If you’re in a cooler climate, you might want to:
– Start in late spring/early summer when it’s getting warm
– Plan for a longer tarping period (10-12 weeks)
– Adjust your follow-up timing accordingly
Think about your end goal and work backwards. When do you want to be planting? When do cover crops make sense in your climate? That tells you when to start tarping.
What’s Next in This Journey
In the next post, I’ll be documenting the tarp removal and what we find underneath. Then we’ll move into broadforking – a way to gently aerate the soil without destroying its structure – and I’ll show you how we’re using our chickens as natural tillers and fertilizer spreaders.
After that comes the really exciting part: choosing and planting our autumn cover crop mix. This is where the soil building truly accelerates.
If you’re following along and want to do this yourself, now’s the time to start sourcing your tarp and planning your timing. Even if you can’t start until later in the year, understanding the process now will help you hit the ground running when the time is right.
Final Thoughts
I’ll be honest – there’s a part of me that wishes we could shortcut this method and start planting next week. But I’ve learned enough about soil biology and long-term soil health to know that shortcuts now mean more work (and worse results) later. Our sandy, nutrient-poor soil needs to be built up, not just patched over. And building it properly means working with natural systems, not against them.
This tarp will sit here for six to eight weeks. To some people walking past, it might look like nothing’s happening. But underneath, a whole lot is happening. Plants are dying and beginning to break down into organic matter. Soil life is adjusting but surviving. The foundation is being set.
And that foundation – living, healthy soil – is what will determine our success not just this season, but for years to come.
So yeah, it takes patience. It takes planning. It takes a different way of thinking about what a garden is and how it works.
But if the goal is nutrient-dense food, environmental regeneration, and eventually being able to feed not just our family but our community? Then getting this right is worth the wait.
I’ll see you in the next update when we pull back the tarp and see what we’ve got.
—–
Have questions about tarping or regenerative gardening? Drop them in the comments – I’m learning as I go and happy to explore these topics together.